
Edit project settings
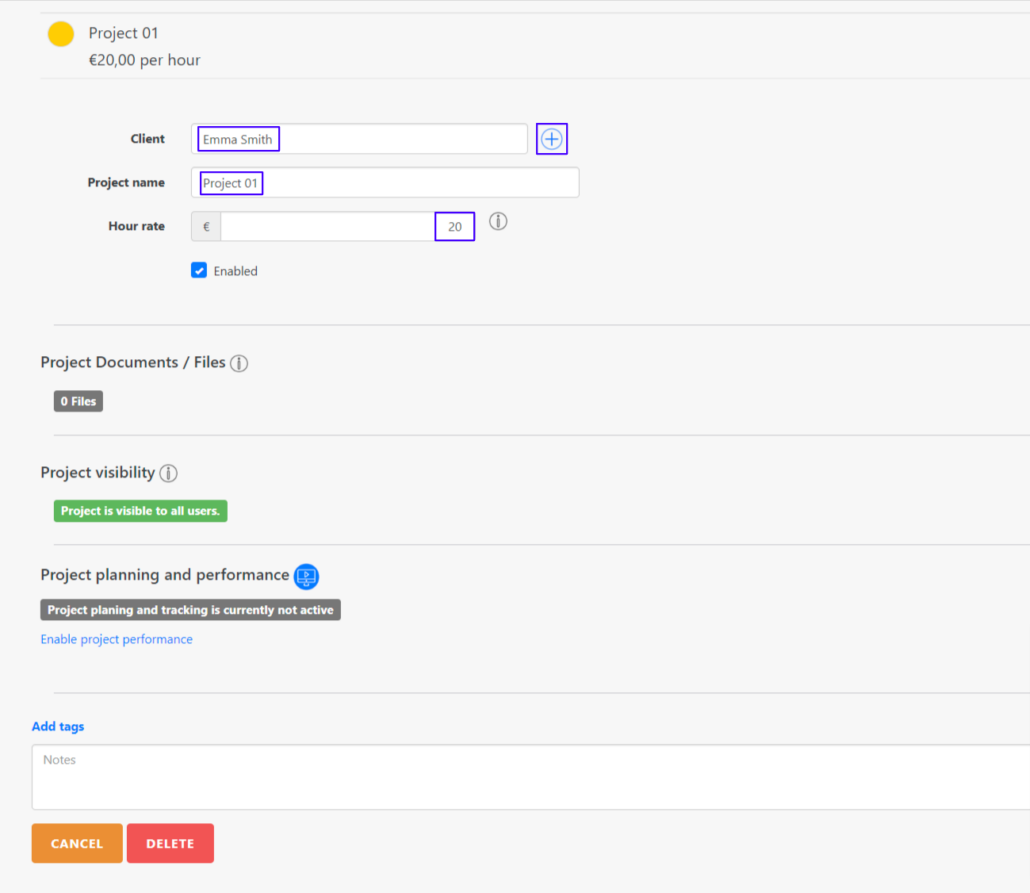
To change the settings of a project, go to Data administration > Projects and click on your desired project. You can add an additional client with the plus symbol or change the name of the project.
You can also set the hour rate for the project. The hour rate of your project is used by default, unless you use a task that has a different hour rate. If you activate project planning, you can create project-specific activities along with their hour rate.
Disable a project instead of deleting it together with the project times and thus falsifying reports. If your project is finished and you don’t want an employee to assign his/her project times to it, just disable the project. To do so, remove the blue checkmark next to “Enabled“.
Upload project related documents
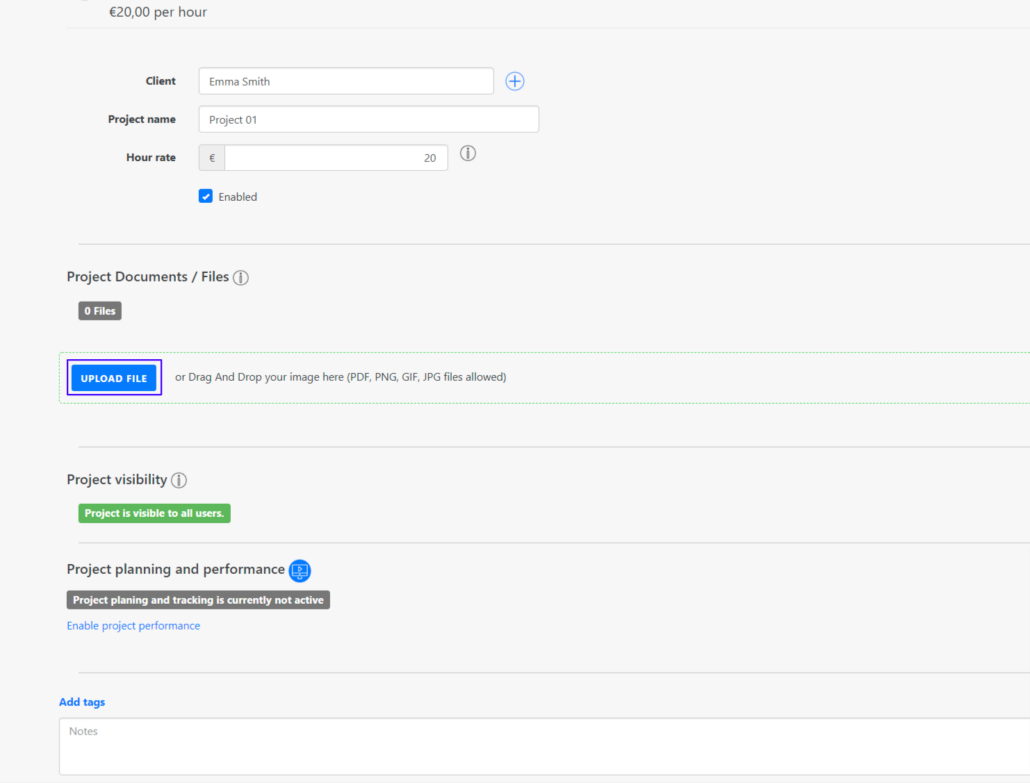
Under “Project Documents/Files” you can upload files that are relevant for the project. To do this, click on “Upload file” or drag your file into the field outlined in green. Accepted document types are PDF, PNG, GIF and JPG. Employees can view the project documentation in the WebApp or mobile app at any time and from anywhere.
Set up task scheduler
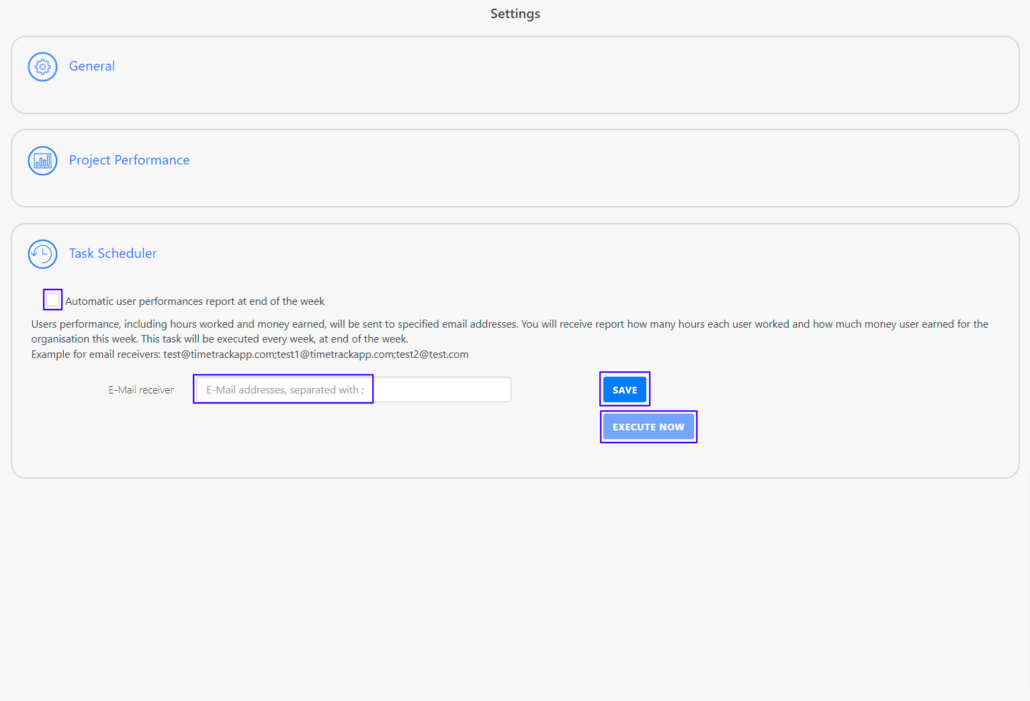
The Task Scheduler is an automatically generated e-mail that sends weekly project times to the e-mail addresses you have defined. In the settings, go to project time tracking and then click on the task scheduler. Specify the emails of the recipients and define if you want to send regular weekly updates of the project times. Click on “Save” when you have specified all the emails and “Execute now” to send the emails.

Do you have any questions?
We are happy to help you!
Contact Alex from our support team!