
Employee Handbook – Set up your account with these 5 steps!

Welcome to TimeTrack Enterprise!
Follow this employee handbook to set up your user profile quickly and easily!
Nothing is more important than a good start. Get your TimeTrack account started right with the following 5 steps:
- Activate your user account.
- Record your work or project times using the time clock.
- Enter your past and future absences.
- View your shifts for the upcoming week(s).
- Manually enter your past work and project times.
Step 1: Activate user account
To get access to your TimeTrack account, you first need an invitation from the admin. You will receive the invitation and the access data to your account via e-mail. To activate your account, you must first set a password. To do this, click on the appropriate link in the email. A new window will open where you can create and confirm your password. The password should be at least 8 characters long. Click on save to be able to log in with the new password.
TimeTrack offers both the #WebApp and the #MobileApp. It is recommended to set the #WebApp as a favorite and save the password. To record your working and project times on the go, it is worth downloading the #MobileApp.
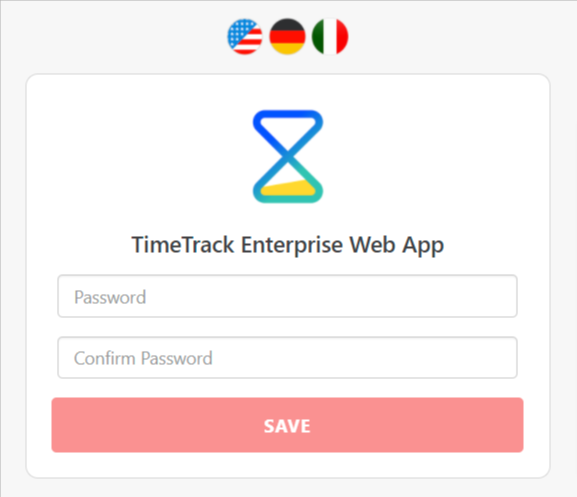
Create your personal TimeTrack password
Step 2: Record working and project times
Discuss with your supervisor or admin how you should record your times and if and how you should record your working times and/or project times.
Record working times with the time clock
#WebApp
With the time clock, you can clock in and out easily and quickly. Press the green triangle to start the time clock. The digital time clock will show you how long you have been at work and how many hours are still open until you finish work. TimeTrack automatically creates your timesheet from your working hours. Click on the red square to end the time clock.
In our Info Center you can find more information about the #WebApp time clock.
#MobileApp
If you use TimeTrack on your smartphone, open the app and clock in and out as you would on the #WebApp in the menu time clock. Once you enable your GPS location, the time clock can be started based on location under workspaces.
Even though the function is a reliable tool in most cases, we still advise you to check the working times recorded by the GPS, as poor signal may cause the working times to be recorded offset. You can find more details about the mobile time clock in our Info Center under Track attendance on the go.
Start your time clock automatically with GPS
Automatic break deduction
Depending on how the admin has set your break policy, your breaks will be automatically deducted, saving you from manually clocking in and out when you take a rest break. Keep consultation with the admin regarding your break regulation.
Record project times with the project timer
#WebApp
You can measure the time you spend on projects using the project timer. This works in the same way as the working time clock. You book your time to a client, a project and a task. The project timer is displayed in the upper right corner of the WebApp.
However, don’t confuse project times and work times. Your working hours are the hours you spend at work, whereas project time is the time you invest in specific projects. You can find more information about the project timer in our Info Center.
#MobileApp
On the mobile app, this function is available under Project Timer and can be operated in the same way as on the #WebApp. In our Info Center you will find a detailed explanation for mobile project hours.
![]()
Track your project hours on the go
Hour reports
#WebApp
Click on Attendance Tracking > Attendance > Timesheets to see your target and actual times. If you have not taken the legally required break on a workday, this is indicated with a warning in your timesheet. In the hours reports menu, you can see your annual target and actual times, corrections made, your absences and whether you have overtime or minus hours. You can print your timesheet and hours overview as well as save them as PDF, CSV or Excel.
#MobileApp
In the android TimeTrack mobile app, you can also find your hours overview, vacation overview and your absences under the menu hours and vacation.
Overview of project hours
#WebApp
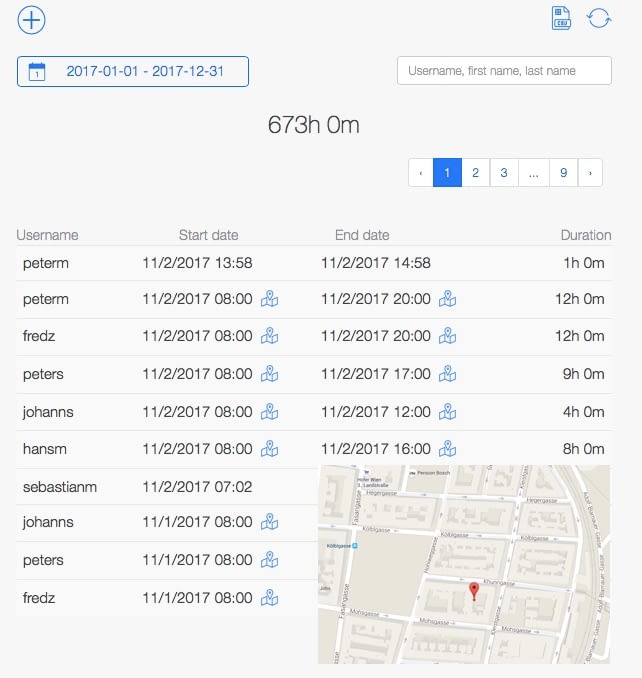
Under Project Time Tracking > Overview you can view all your project times. You can either view the calendar overview or the list overview. You can also edit your calendar view by clicking the settings icon on the right. Visit our Info Center for more information on the Week View.
![]()
TimeTrack project hours overview
#MobileApp
In the mobile app, you can overview your projects by clicking overview on the sidebar. You can switch between the monthly view and weekly view.
Restricted access to projects
Not every user sees all projects. The admin sets which user has access to which projects and can book his/her time on them.
Step 3: Vacation / Absence
#WebApp
Under Attendance Tracking > Leave/ absence > Requests you can request an absence. To do this, click on the plus symbol. You can choose between different types of absences, such as vacation or sick leave. Request the absence so that the admin gets a notification and can approve it. You can overview all your vacations and other absences in the calendar menu. In the paid leave reports you have an overview of your vacation entitlement and your already used vacation days.
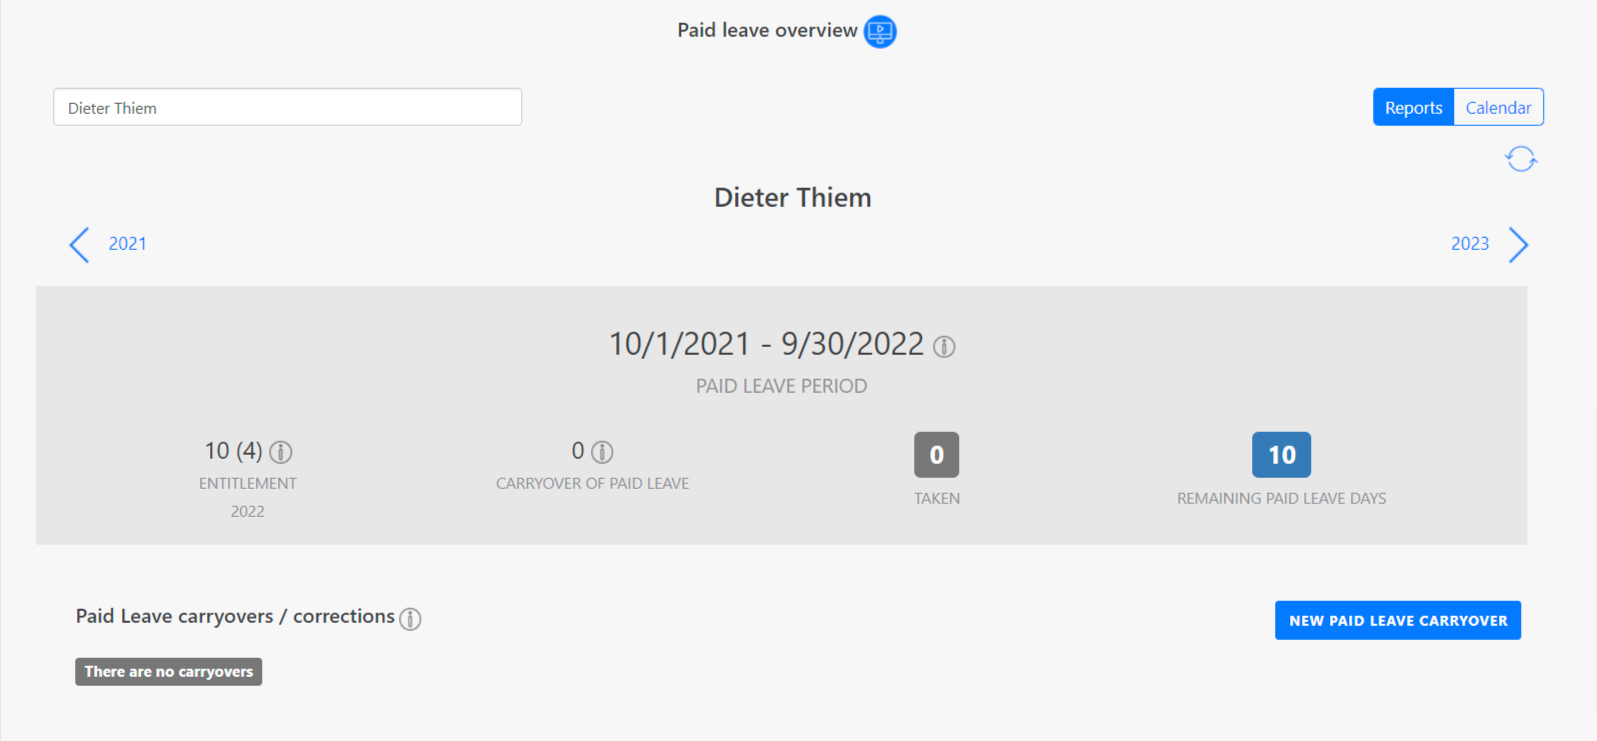
The ideal overview for your absences
Additional Support
You will find a detailed video explanation next to each function in the #WebApp, which will bring you closer to the feature. Almost every explanatory video lasts less than a minute. If you have any further questions, our support team will be more than happy to help you.
#MobileApp
In the android and iOS version, you can see both the calendar view and all your previous requests under leave management.
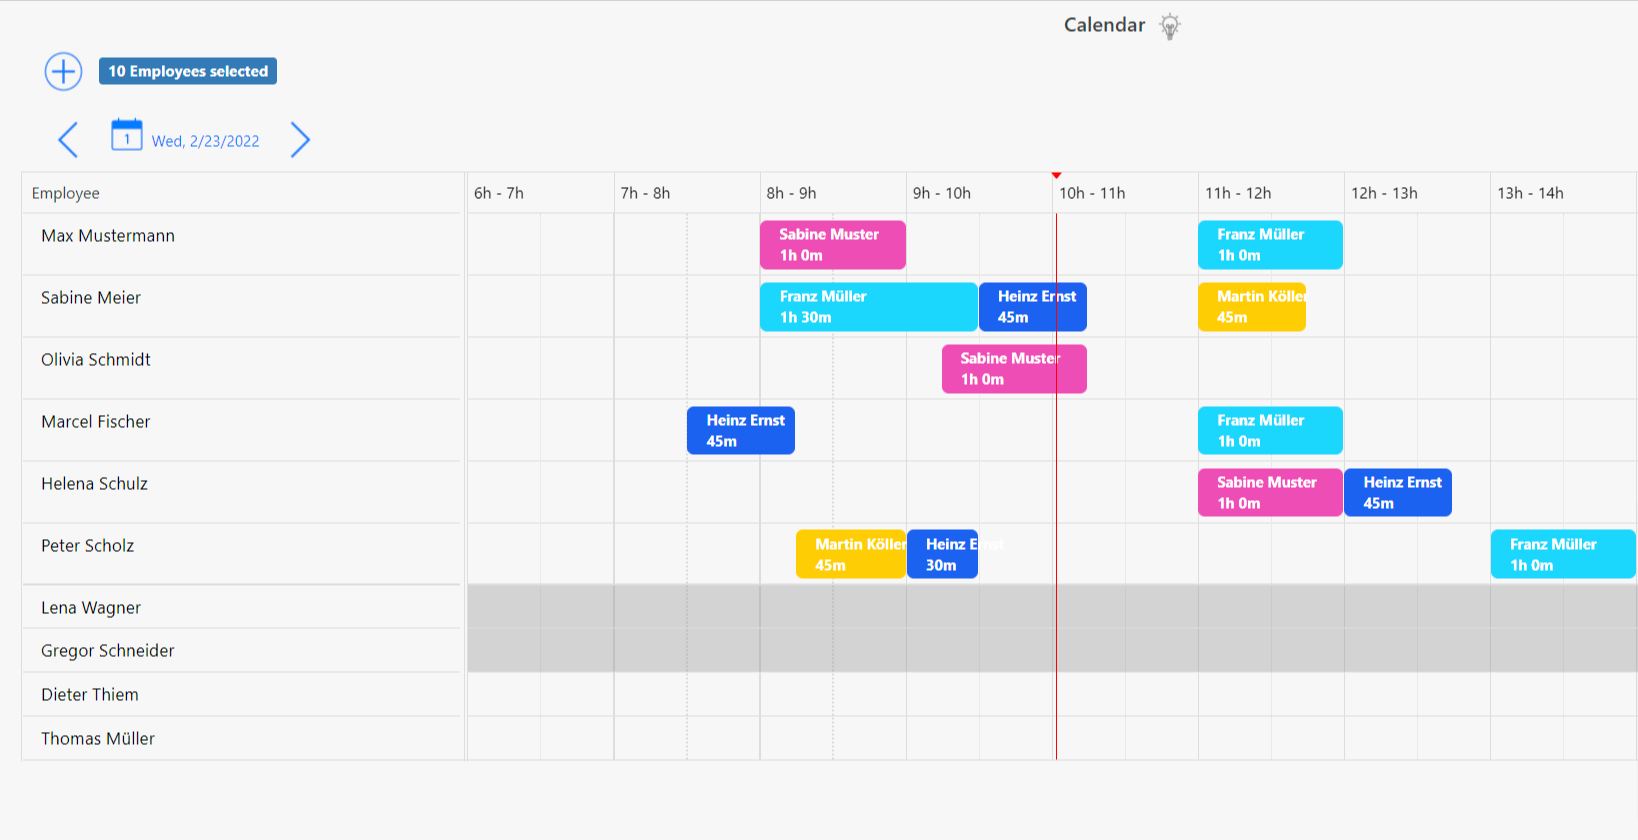
Step 4: Configure duty roster and appointment scheduler
Under the menu item Planing you can view the duty roster and the appointment scheduler.
Duty Roster
In the #WebApp, click on Planing > Duty Roster > Calendar to see either your shifts or all shifts. In order for the responsible scheduler to schedule you according to your availabilities, you can specify them. To do this, click on availabilities. After you click and drag to create a time slot, you can specify the date and the start and end time of the availability. If your availabilities change infrequently, you can have them repeat themselves. You can find more information about availabilities in TimeTracks Info Center.
If you are unhappy with a shift, you can apply for another shift. Read more about employees and shifts in the Info Center.
Create and repeat availabilities with TimeTrack
Appointment scheduler
Depending on how your user rights have been assigned, you can schedule appointments in the #WebApp or just view them.
To schedule an appointment, you need to make a click in the desired field at the appropriate time and specify the client and the project. You can also add the activity, address or notes to it.
Learn more about the appointment planning in TimeTracks Info Center.
Plan appointments on the #WebApp
Customize your side menu
You can customize your side menu in the #MobileApp if certain menu items are irrelevant to you. Click on Settings > Set up > Menu Options in Web App. You can additionally protect your TimeTrack data in the #MobileApp by creating a code lock.
Step 5: Manually enter your past working hours
Add working times
#WebApp
TimeTrack also offers the option to manually enter or add working times. Consult with the admin about this, as you need user rights for this function.
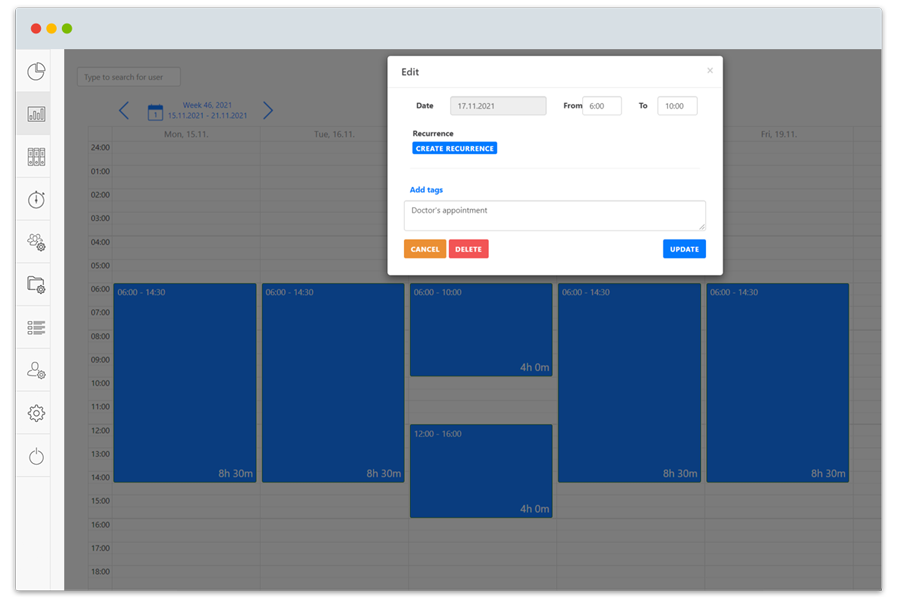
To enter your working hours manually in the #WebApp, click on Attendance Tracking > Attendances in the menu on the left. Press the plus icon to enter a new attendance. Enter the date, start time, end time and your break.
To see specific attendances, you can select the desired time period. You can save the displayed attendances as CSV or Excel.
Visit our Info Center for more information on subsequent attendances.
![]()
Attendences overview on TimeTrack
#MobileApp
On your smartphone, you can also enter attendances manually. To do so, click on the attendance tracker and then on the plus symbol at the bottom.
Add project times
#WebApp
To add a project time, create a new time entry in your overview. Enter the start and end time as well as the client, the project and the task.
To move a time entry for a project to a desired day and time, use drag and drop. Find more details about subsequent time entries in our Info Center.
#MobileApp
In order to add a new project time recording on your mobile app, first click on the week overview and then on the plus symbol on the bottom right.
Bonus Step: Terminal App
In addition to the #WebApp and #MobileApp, TimeTrack also offers the terminal app, which allows on-site clocking in and out on an Android device of your choice. This is done either with NFC/RFID tags (keycard, key fob or NFC sticker), a pin code or a password. The terminal app is connected to both the #WebApp and the #MobileApp, which is why the stamps are immediately visible there.

Anja Bosiok ist Marketing Managerin bei TimeTrack und schreibt seit über drei Jahren über Zeitmanagement, moderne Arbeitswelt und digitale HR-Prozesse. Sie studierte Journalismus (Bachelor) sowie Publizistik- und Kommunikationswissenschaft (Magister) und verbindet redaktionelle Präzision mit tiefem Produktverständnis. Zuvor war sie als Content Managerin bei TimeTrack tätig und begleitet seitdem die Themen rund um Arbeitszeiterfassung und Personalorganisation – von der gesetzlichen Grundlage bis zur praktischen Umsetzung im Unternehmensalltag.

